Coaching with Games: PART 1
Welcome to our 3-part Coaching with Games series! We’ll highlight skills, methods, and best practices for using games with your […]

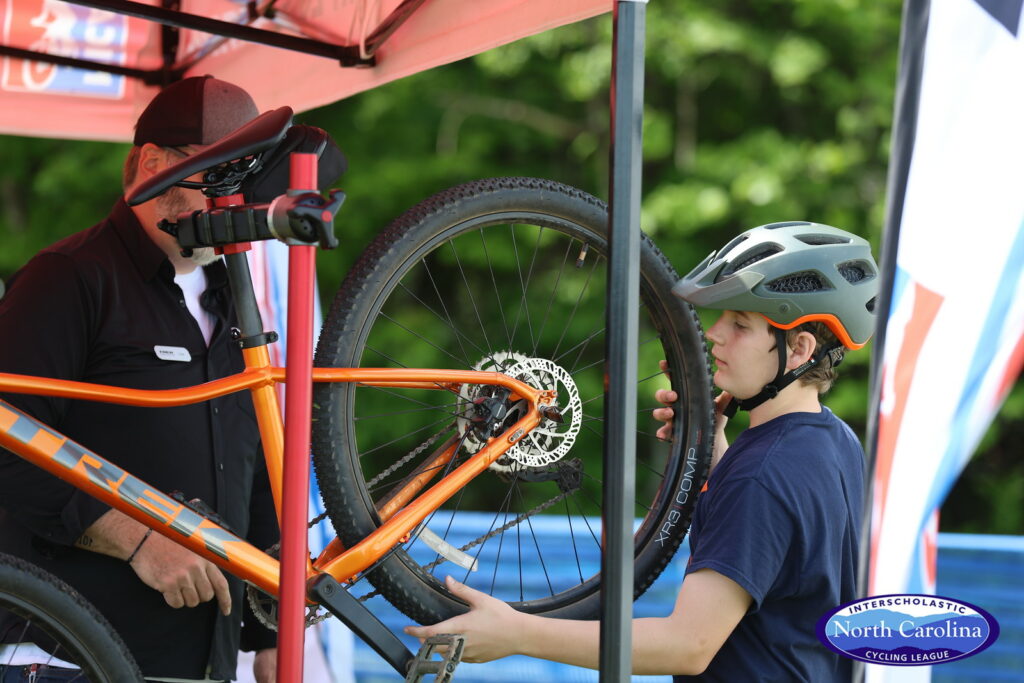
The Trailhead’s “LOVE YOUR BIKE” series shares pro-tips from NICA partners so you can keep your ride in top shape.
Photo by Deborah Hage: North Carolina Interscholastic Cycling Association
Supplies
You can achieve a solid clean with a rag, some water, and good ol’ fashioned elbow grease. But, for your sake (and your bike’s), you may want to grab the following supplies:
A bike stand like this one from Feedback Sports makes washing/maintaining your bike simple and easy.
Photo: Deborah Hage – North Carolina Interscholastic Cycling League.
Get Started
Fill your bucket with water and soap and thoroughly soak your brushes and sponge. While your brushes and sponge soak, get your bike set up on your choice of support, like the Sprint bike repair stand. Having your bike in a stand keeps it secure and allows you to get into every nook and cranny.
Step 1: Drivetrain
We like to start with the drivetrain because the process of cleaning it will inevitably splatter grease and grime onto other parts of the bike, which we can then remove later.
You can install a chain keeper so your drivetrain has a bit of tension in the system and plenty of access to the entire drivetrain (or, you can leave your rear wheel on to maintain the tension). Use a mild degreaser to soak your chain, derailleurs, and chainrings–a diluted biodegradable solution from a major home goods store or your local bike shop works great. Look for something non-corrosive, like this cleaner from Squirt. While that’s soaking, prepare a mild soap detergent to help wash this all away when you’re finished.
Start with the chainrings and give them a good scrub to remove any caked on grease. If you have extra soap, wash, or degreaser apply it directly to your brush.
Move toward the cassette and rear derailleur and scrub! Get the outside of the derailleurs, inside, the pulleys and anything you can see. Various brush sizes and textures help a lot here. If your pulleys have a large build up of grease, gently use a flat head screwdriver to scrape them clean. Apply more degreaser or wash as needed.
Rinse off the grit and grime. Once it looks clean, we recommend taking your sponge and soap solution and giving it one more swipe, just for good measure.
Step 2: The Frame
Spray your entire bike down and soak areas of mud build-up. We prefer using bike wash solutions because they don’t negatively affect rubber or disc brake pads—be sure to dilute according to the instructions!
Now grab your large soft brush and scrub your tires, rims, and any other tight space that is not covered in grease.
Step 3: Rinse and Hand Dry
Now that everything has been thoroughly scrubbed and rinsed, grab your microfiber towel and wipe down your bike, reinstall the wheels, then allow it to air dry the rest of the way.
Step 4: Lubricate Your Chain
Your drivetrain is now clean and it’s time to lubricate it. We recommend grabbing an old rag to make sure the chain is as dry as possible. Wrap it around the bottom of the chain, and add a bit of pressure while rotating the cranks for 30 seconds. Once dry, apply your chain lube of choice one link at a time to your chain. Now, get your rag and pedal backwards a few turns to wipe off the excess chain lube.
The first few times you wash your bike it may seem a bit tedious, but the more often that you do it the easier and faster it will become and the less dirt, grease, and grime will build up between washes. Keep your brushes, bucket, hose, and bike holder easily accessible to further reduce the amount of time it takes.

Download a copy of this one-page, printable handout for your student-athletes! Find even more resources, handouts, and templates in NICA’s Coach Resources, on the right side of your NICA Coach Education dashboard. Just log into Pit Zone and click the “Courses, Resources, & Benefits” button.
Thanks to Feedback Sports for providing these expert tips to care for your bike!
Find out more about this benefit and check out Feedback’s line of products today!
Welcome to our 3-part Coaching with Games series! We’ll highlight skills, methods, and best practices for using games with your […]
Is your bike team chasing podiums, or is it chasing progress? This month’s feature Trailhead article explores the benefits of […]
Learn how to play Red Light, Green Light on bikes, a fun NICA team activity that helps student-athletes practice braking, […]